 If you’re a regular reader here at Cup of Tea, you know I’m not really a DIY girl… I have a hearty Pinterest account that I pin glorious ideas, but hardly ever execute. It’s just not my thing.
But every once in a while, I get bit by a bug that makes me want to DIY something.
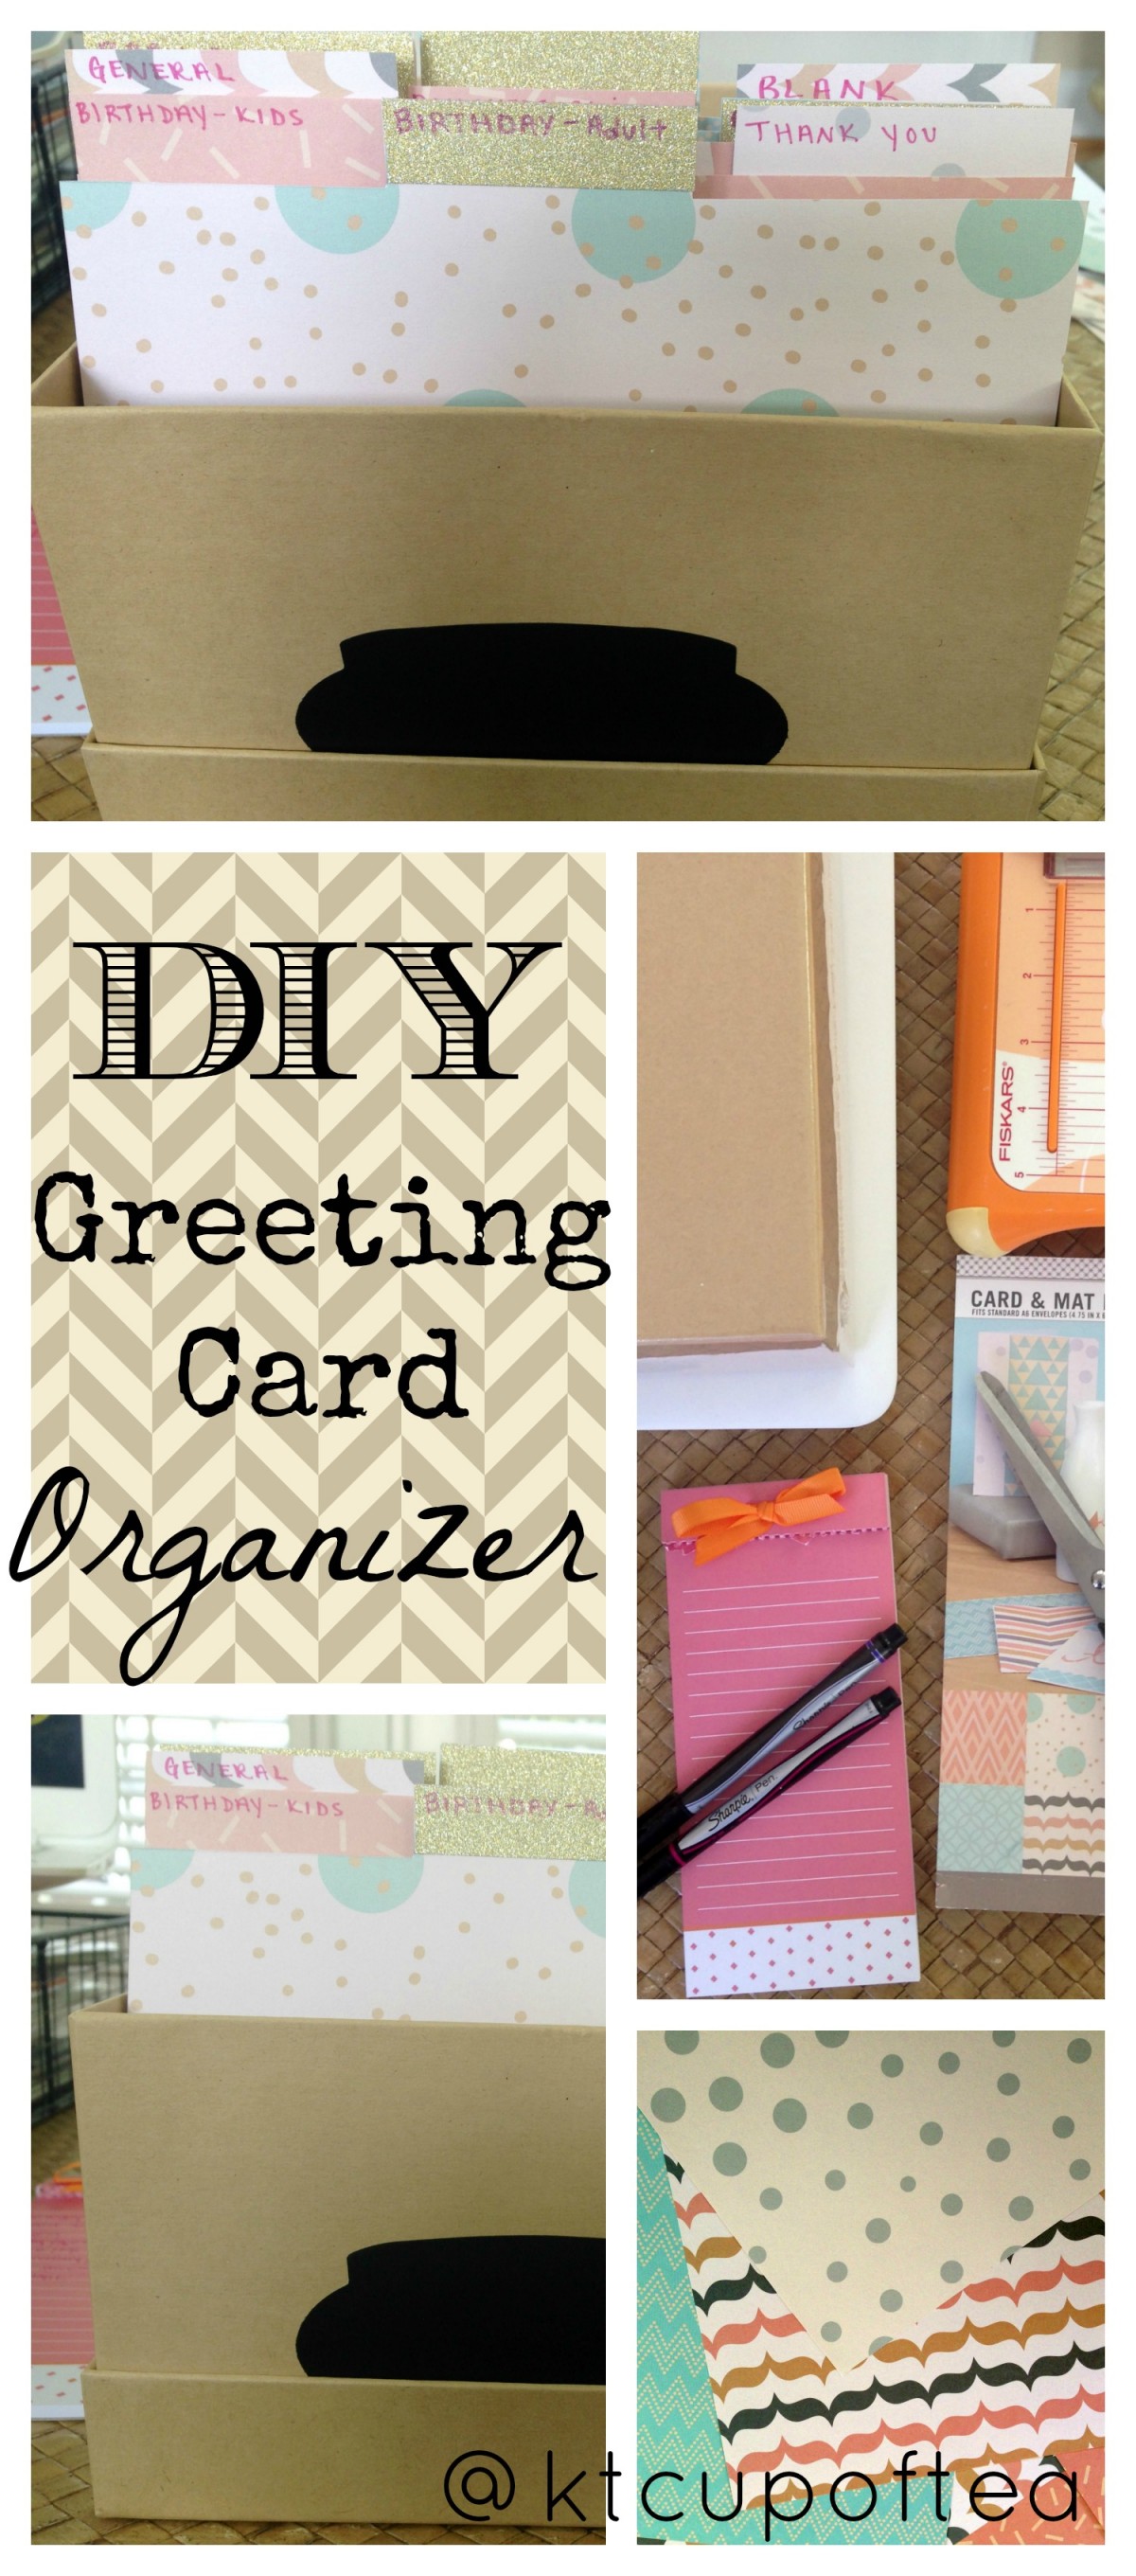
I saw this pop up on Pinterest – an easy greeting card organizer! And thought I could handle that. It looked fairly simple enough. And I have greeting cards strewn all over the house.
This was a really quick, cheap DIY and it makes me smile every time I see it.
Basically, it’s a larger version of an old-fashioned recipe box, tabs and all! Let me show you what I did, in 30 minutes, during nap time! #momwin
Here’s what you need:
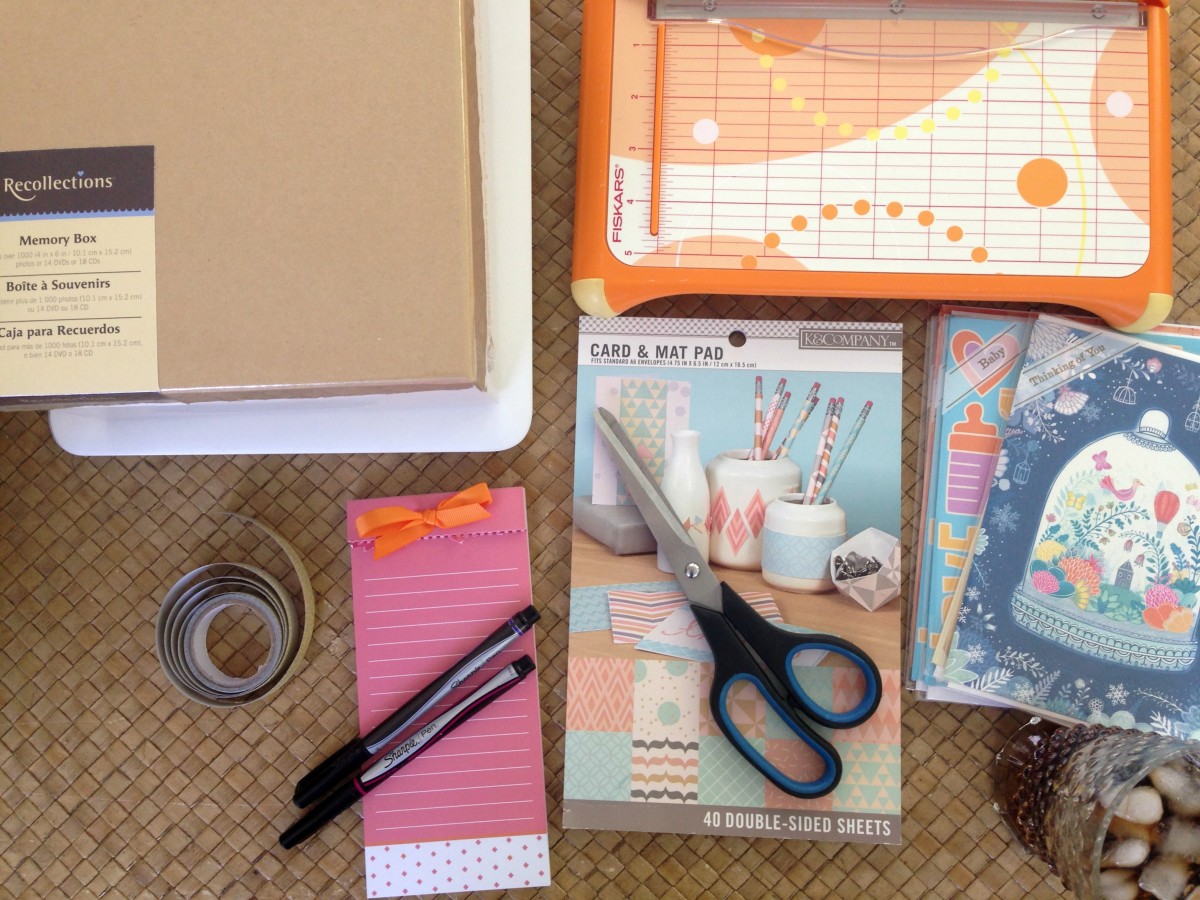
- A photo storage box – I picked mine up at Michael’s. They were on sale at around $2. I picked a plain brown version since I’m a plain girl.
- Scissors and/or paper cutter – I just happen to have a small paper cutter, but using a pair of scissors works too! The inspiration post recommends using a template from file folders or other tab dividers you have lying around (recipe box??)
- Cardstock paper – you can use whatever your heart desires! I picked up a pad of scrapbook paper from Target.
- Pens and other embellishments – I scrounged around and found a roll of gold glitter washi tape
- Glass of Diet Coke – duh…. mandatory
First step, write down what categories you need to sort your greeting cards by. These are completely dependent on what your needs are! We are in that season of life where we go to a kid’s birthday party every weekend. So having a seperate category for that works for me. You can make these categories as detailed or as general as you like! But the more categories you have, the more dividers you’ll need. I did:
- Birthday – Adult
- Birthday – Child
- Thank You
- Holiday (Mother’s/Father’s Day, Valentine’s Day, Anniversary)
- General (Thinking of You, Catching Up, etc)
- Baby/Wedding Shower
- Blank
- Extras for when you think of more categories later
Next up, I chose my paper. I decided to go with a wide assortment of patterns, because, why not? Plus, I have that plain box… things need to be livened up.

I then started cutting. I didn’t use a template, so it was trial and error…. I guess using a template would have been a better idea…
I first used the paper cutter to cut my sheets down to fit in the box.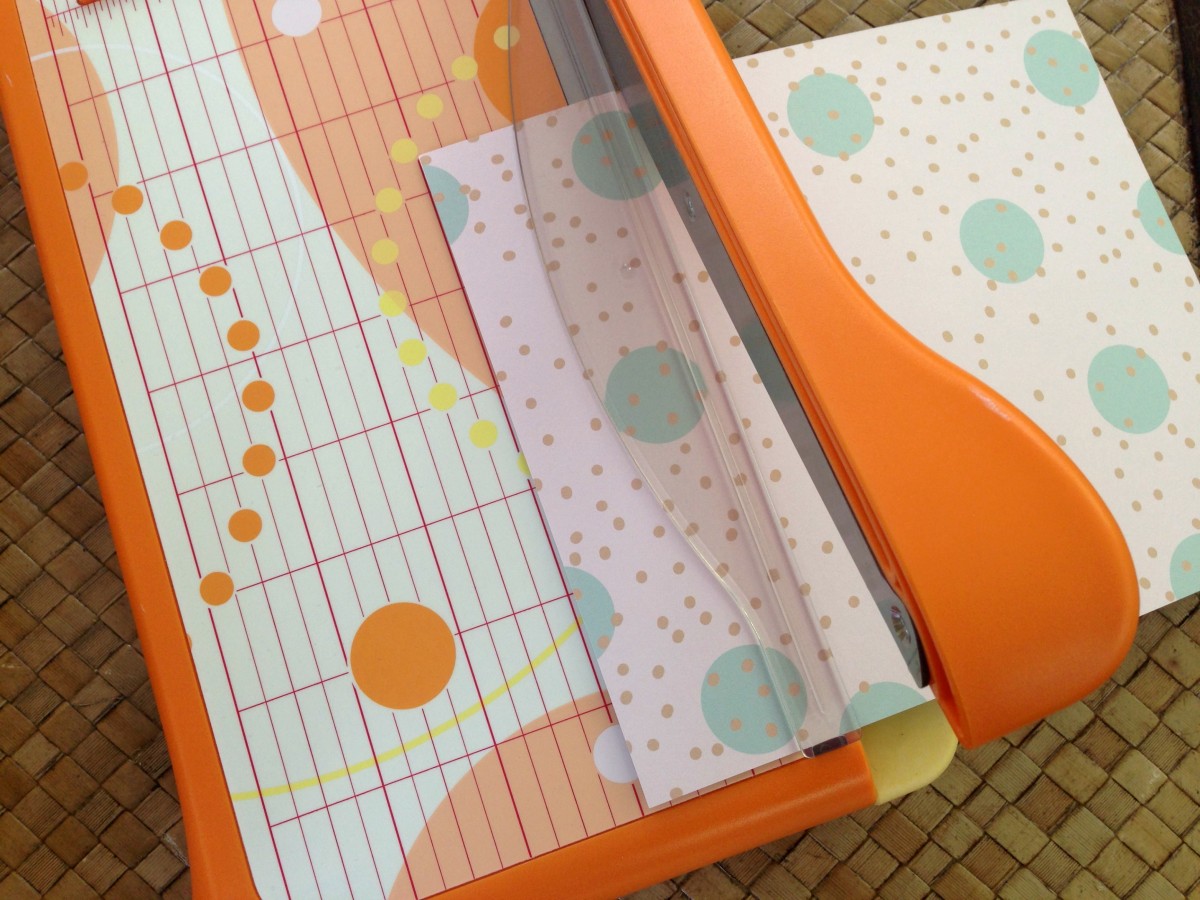 Then just sort of free-handed the tabs. It was a risky move…
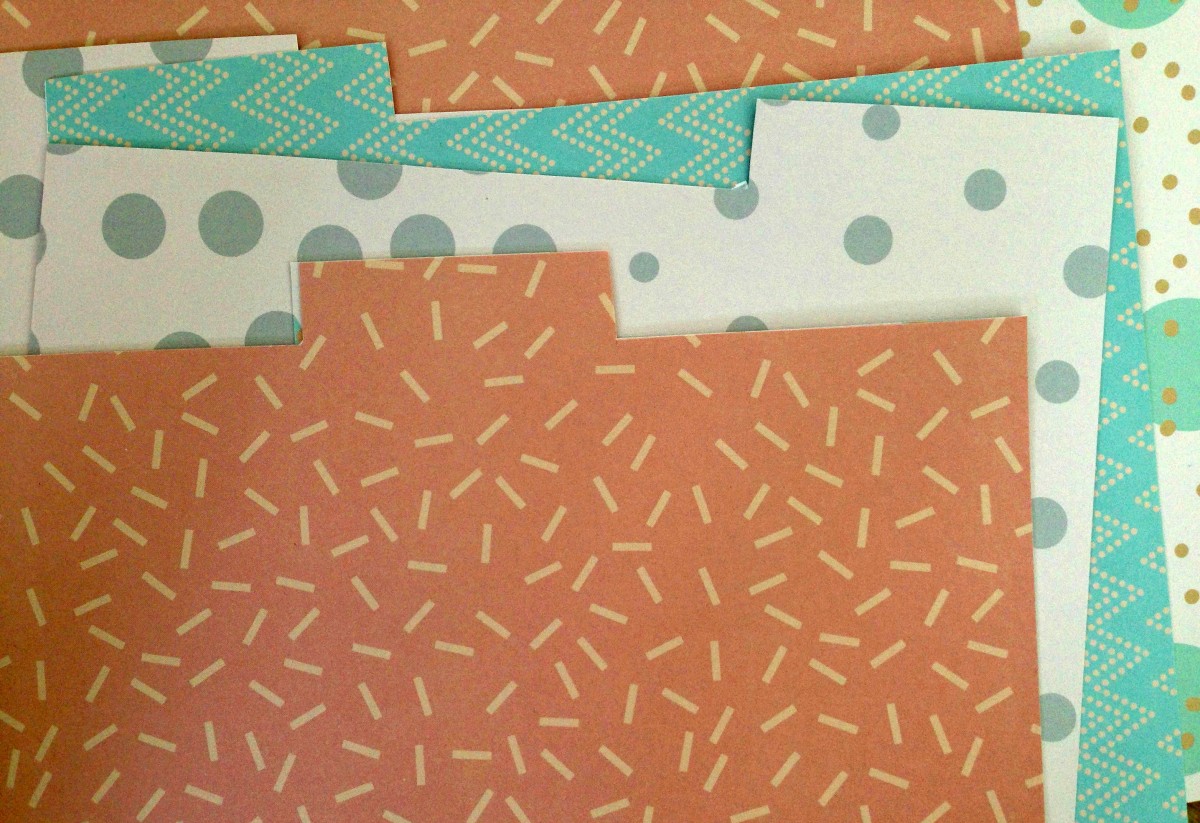
I finished a few tabs off with some gold glittery Washi tape. And then wrote the categories down, one for each tab!
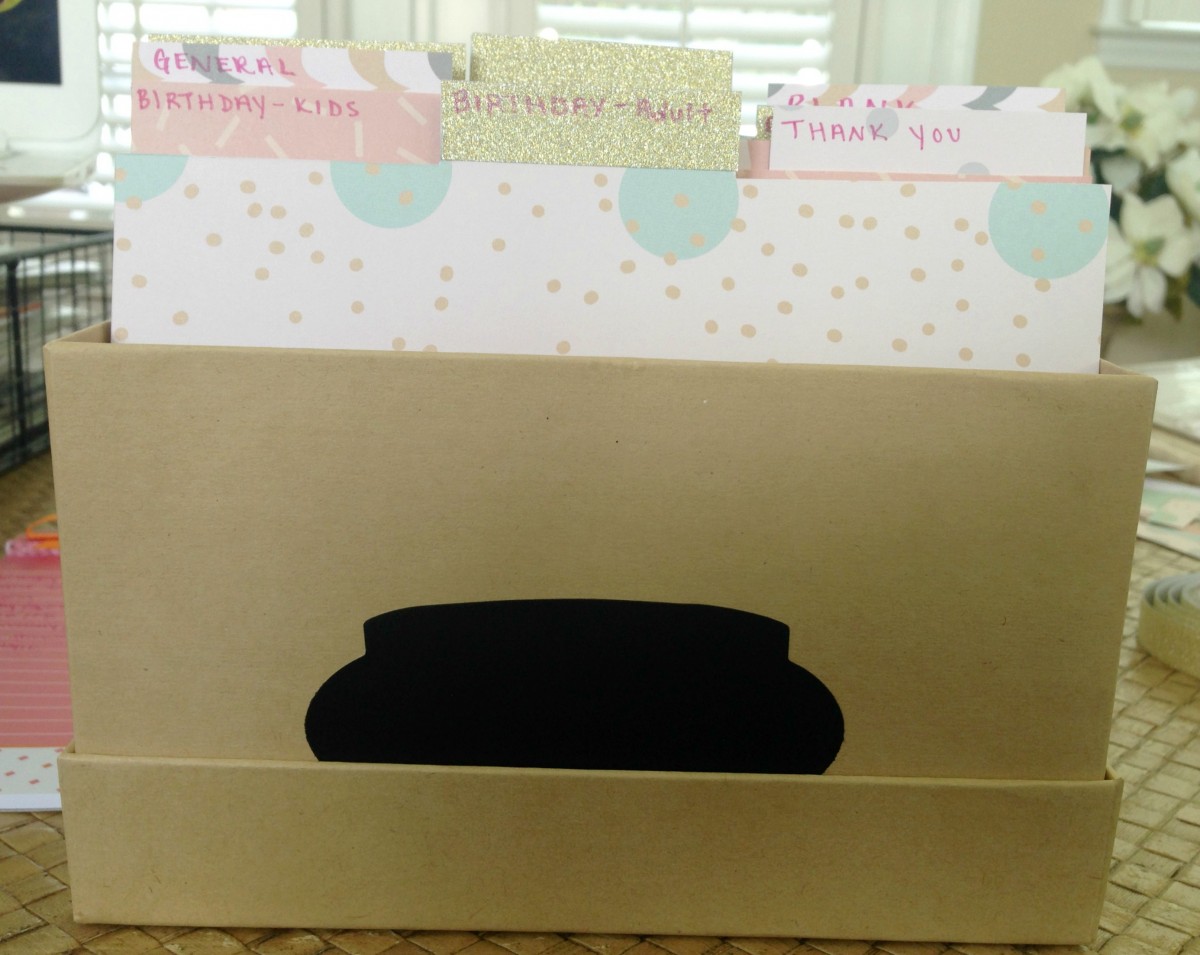
Voila! Finished!
It probably would have taken me less than 30 minutes had I not been watching Real Housewives of NYC.
Now I have a cute place for all of the various cards that are required every year.
Are you DIY challenged like me?
How to you organize your greeting cards?
(Oooo! Doesn’t that question make us all sound so snooty and posh?)
Follow me: Instagram | YouTube | Twitter | Facebook | Google+ | BlogLovin’ | Pinterest
Linked up for Tuesday Talk, Good Tips Tuesday & Pin to Present
Love this! And yes, I’m just like you…not really a DIY girl but I do get the itch every once in a while. I am incredibly impressed with your freehanded tabs! Mine would never have come out that nice. 🙂 Such a cute idea!
Thanks! In hindsight I wish I didn’t freehand those tabs…. I can never cut in a straight line!
This is such a great idea! Even though you say that you are DIY challenged, you did a pretty good job! You are so witty! I love reading your blog! It brightens my day.
Sarah
http://mybowsandclothes.blogspot.com/
Haha thanks!! I really appreciate that. When it comes to DIY, I need to find all the humor I can to make it through
So smart and cute! I have a bazillion cards and stickers that are just about exploding out of their accordion folder, so I might have to keep this in mind!
I had an accordion folder too that was bursting. I needed more room!
This is so cute! I love how the cards are all organized and that you made it yourself!
Thank you!
Love this!! I am not really a DIY-er either, but thanks to your tutorial, I just might be able to make it!! 🙂
Haha if I can, you can!
This is great! My mamaw always bought up cards ahead of time. I need to do that. I keep a “gift closet” with wrap and some generic gifts, so this is logically the next step, right?
Tif
http://www.brightonabudget,com
That sounds logical haha!
Great to hear from someone who says they find these things hard – DIY challenged. I look at these perfectly made affairs and just think mine will look like I made it when I was 3 years old and then the cat chewed it! Great making – it looks great and so useful too. I could house all my tea themed cards in one of those. I use them for all occasions.
Thank you! We DIY-challenged folks have to stick together!!
Quite so, whilst avoiding getting things stuck to ourselves, our furniture, clothes . . .
This is absolutely adorable – and useful, too! Love it. 🙂 The fun scrapbooking paper really makes it pop!
I don’t know what I would do without Target choosing the fun coordinated scrapbook paper. I’m hopeless at mixing and matching, so these packs are really amazing! Thank you!
This is so smart and so cute. I really do need to do something like this. Just today, I had to run out over my lunch hour to pick up a couple of father’s day cards. That paper cutter is super cute too.
I love all of your pretty paper choices! So glad you joined us for “Tuesday Talk”~
Elizabeth
allkindsofthingsblog.com
Aww this is SO cute! Love it! I know we have talked before about our love of our cards.. and I have to admit I have so many and they are all just a jumbled mess in my night stand! I need to make this DIY for sure!
Xo
Lee | LegalLee Blonde
What a brilliant idea!! I keep lots of greeting cards around the house, but they are all thrown in one big box, so I have to search like crazy to find one when I need it.
That was me too! I had cards everywhere, and then I had a pretty horrible looking accordion file folder I was keeping some in. Thanks for stopping by!
Ah, always love a cute organization idea! This is such a fun one – thanks for sharing!
Thanks!
What a great idea! This turned out really cute. Too bad I cheated and bought a card box with dividers AND cards already in it. lol Someone else mentioned using this for stickers, love that idea! I have mine all thrown in a box and having them organized in a box like this would be awesome!
Well shoot! I wish I had seen the already done versions 🙂 that’s my kind of DIY! HAHA! I love the idea for stickers too!
I love this idea! I enjoy making handmade cards, so this is motivation to work ahead and stay organized!
Oh what a wonderful hobby! I wish I had your talent.
I love this sweet DIY idea! You write in such a way that adds a dab of fun! 🙂 I think you make great DIY stuff! 😉
I’d like to think I’m a dab of fun! HAHA! I love that 🙂 And I’m no DIY’er but it was pretty easy, and turned out so useful!